A pivot door can look effortless, yet its heavy duty hinges carry considerable weight every day. Small alignment errors may cause scraping, uneven gaps, stiff movement, or premature hardware wear. Learning How to adjust heavy duty hinges on a pivot door? requires patience, accurate observation, and the correct adjustment sequence.
Martin H. Keane, an architectural door-hardware consultant with field experience in commercial installations, says, “Adjust the hinge in small movements, then let the door settle before making another correction.” That advice matters. A quarter-turn can change the reveal along the entire door edge. Mark the original hinge position, inspect the floor clearance, and check whether the frame remains plumb. Use suitable tools, not force. Never support a heavy door casually.
The process usually involves checking vertical alignment, side-to-side positioning, closing speed, and latch engagement. However, hinge designs differ. Some use concealed adjustment screws, while others require removable covers or manufacturer-specific keys. Guessing is risky. It can damage threads or hide a deeper installation problem.
A practical installer watches the door from several angles. Feel the resistance. Listen for rubbing. Then adjust one point at a time. This is slower, but safer. Sometimes the hinge is not the real cause. A settling frame, loose fastener, or warped door may be responsible. That possibility deserves honest attention.
This guide explains the inspection steps, adjustment methods, safety checks, and common mistakes involved in achieving smooth, controlled pivot-door operation. Expect useful detail, but not magic. Every door behaves differently.
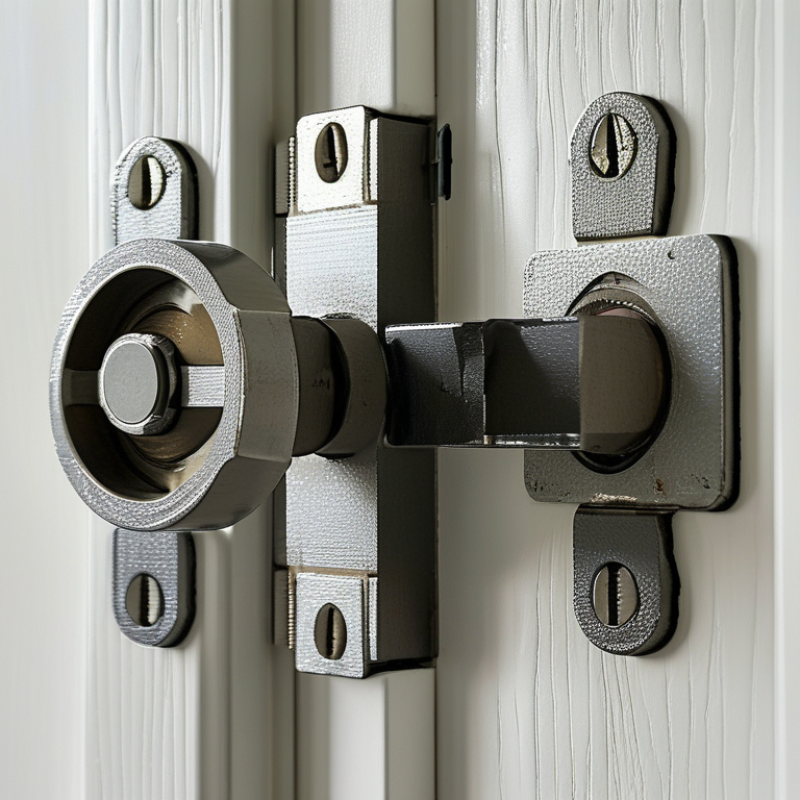
Heavy-duty pivot hardware supports large, heavy door leaves through floor and head pivots. Its rating must cover the complete moving assembly, not only the timber or metal panel. Include glass, locks, closers, trims, and applied finishes.
EN 1935:2002 Table 2 lists hinge classifications with tested door masses reaching 160 kg. However, that figure cannot automatically validate a pivot set. Pivot hardware uses different load paths, bearing arrangements, and fixing conditions. Ask for the manufacturer’s tested door mass, maximum leaf width, height, thickness, and recommended adjustment range. A 120 kg door may behave differently when its center of gravity sits far from the pivot axis.
Measure carefully.
Field experience shows that installers often adjust the top bearing before confirming the actual mass. I made that mistake once. The door appeared light during lifting, but its glass and closer added nearly 18 kg. That changed the closing speed and floor load noticeably. Confirm the finished door mass with a calibrated scale or documented component weights. Then compare it with the hardware rating, allowing for traffic frequency and impact forces. BHMA A156.4-2024 provides performance classifications for door-control devices, but its closer ratings should not replace pivot-hardware certification. Check the complete test documentation. A rating without fixing details is incomplete.
| Topic | Practical Definition or Measurement | Reference Data | Adjustment or Verification Method | Acceptance Check |
|---|---|---|---|---|
| A. Define Heavy-Duty Pivot Hardware | ||||
| Heavy-duty classification | Pivot hardware designed for high door mass, frequent cycling, large door dimensions, or increased mechanical loads. “Heavy-duty” is not a universal rating; the manufacturer’s tested mass and duty-cycle limits control. | Typical product specifications may list rated door masses such as 80 kg, 120 kg, 150 kg, or 200 kg. These values are examples of rating bands, not a substitute for the selected hardware’s certification. | Locate the hardware label, technical sheet, or installation record. Confirm the permitted door mass, maximum leaf dimensions, pivot position, and operating frequency. | The selected hardware rating is equal to or greater than the design door mass and complies with the applicable project requirements. |
| Rated door mass | The maximum door-leaf mass that the complete pivot system is designed to carry under its stated installation conditions. | Rated mass normally applies to the complete leaf, including glass, frame, panels, locks, closers, pull handles, seals, and attached hardware. | Do not compare the rating with the slab mass alone. Add every permanently attached component before selecting the pivot set. | The calculated design mass does not exceed the hardware’s published rated mass. |
| Design margin | A reserve between calculated door mass and the hardware rating helps accommodate measurement uncertainty, installation tolerances, wear, and accessories. | A practical screening rule is: minimum hardware rating = calculated door mass × 1.25. This is a planning margin, not a replacement for code or manufacturer instructions. | Multiply the measured or calculated mass by 1.25, then compare the result with the published hardware rating. | The selected rating meets the project engineer’s required safety factor and the manufacturer’s limitations. |
| B. Confirm the Door Mass Before Adjustment | ||||
| Solid timber or engineered wood | Mass is calculated from volume multiplied by material density. | Common design density range: approximately 450–700 kg/m³, depending on species, moisture content, and construction. | Mass = height × width × thickness × density. Add glazing, frame, locks, closer, handles, and other hardware. | The result is documented in kilograms and supported by measured dimensions or a verified weight. |
| Monolithic glass | Glass mass is mainly determined by area and thickness. | Float glass is approximately 2.5 kg/m² per millimetre of thickness. For example, 10 mm glass is approximately 25 kg/m² before edgework and fittings. | Glass mass ≈ area × thickness in mm × 2.5 kg/m²/mm. Include cut-outs, laminates, fittings, and framing separately. | The glass calculation includes the complete glass build-up rather than nominal panel area only. |
| Steel or aluminum frame | Frame mass depends on profile geometry, wall thickness, reinforcement, and finish. | Reference material densities: steel approximately 7,850 kg/m³; aluminum approximately 2,700 kg/m³. | Use supplier mass-per-metre data where available. Otherwise calculate each profile’s volume and multiply by material density. | Reinforcement, threshold members, brackets, and concealed plates are included. |
| Mass calculation example | A 2.4 m × 1.0 m × 0.05 m wood leaf at 600 kg/m³. | Leaf mass = 2.4 × 1.0 × 0.05 × 600 = 72 kg. If attached hardware adds 18 kg, total mass = 90 kg. | With a 1.25 planning margin: 90 × 1.25 = 112.5 kg minimum screening rating. | A 120 kg-rated system would pass this screening check, subject to its dimensional, frequency, and installation limits. |
| C. Pre-Adjustment Inspection | ||||
| Safety preparation | A heavy pivot door can move unexpectedly and can cause crush or pinch injuries. | Use at least two trained people for support when the door is heavy or unstable. Keep the swing path clear. | Secure the door in a safe position, use approved blocking or a support stand where specified, and wear eye and hand protection. | Never remove load-bearing pivot fasteners while the door is unsupported. |
| Fastener condition | Loose, damaged, corroded, or incorrectly sized fasteners can cause sagging and uneven operation. | Check pivot plates, screws, bolts, receivers, shims, and structural backing. | Tighten only to the specified torque. Replace damaged parts; do not compensate for structural failure by over-adjusting the hinge. | All fasteners are secure, correctly seated, and supported by sound substrate. |
| Door-to-frame clearances | Clearances vary by door construction and fire, smoke, accessibility, and weather-seal requirements. | Use the project drawings and hardware instructions for the required clearances. There is no single universal clearance for every pivot door. | Measure at the head, jambs, threshold, and pivot side before changing the hardware position. | Clearances are even and do not cause rubbing, seal compression, or interference with adjacent surfaces. |
| D. Adjustment Sequence for a Heavy Pivot Door | ||||
| 1. Identify adjustment functions | Common functions include height, lateral position, depth, closing speed, latch speed, hold-open position, and damping. | Not every pivot set provides every adjustment. Some adjustments are made at the top pivot, bottom pivot, closer, or floor box. | Use the hardware diagram to identify each screw or valve. Mark the original position before making changes. | Each adjustment is made only at the designated point and within the stated adjustment range. |
| 2. Correct height or sag | Symptoms include a door scraping the threshold, uneven head clearance, or a latch that does not align. | Height adjustment is often limited and may be controlled by a threaded bottom pivot or adjustment nut. | Support the door, loosen locking hardware only as instructed, make small equal changes, and recheck the swing after each change. | The door clears the threshold and head evenly without excessive pivot preload. |
| 3. Correct lateral alignment | Symptoms include an uneven jamb gap, misaligned lock, or the door leaf drifting toward one side. | Lateral adjustment may be available at the floor plate, top pivot, or mounting plate. | Adjust in small increments, keeping the pivot axis plumb. Do not force the leaf sideways against the frame. | Jamb gaps, lock alignment, and seals are consistent from top to bottom. |
| 4. Correct depth or reveal | Depth adjustment controls how the leaf sits relative to the frame, wall face, or adjacent panel. | Excessive offset increases contact with seals and can change the load on the pivot system. | Set the reveal according to the approved drawings and keep the pivot axis in the intended location. | The door does not bind against the frame, seal, wall, or floor finish throughout its travel. |
| 5. Adjust closing speed | Hydraulic closers commonly provide separate closing-speed and latch-speed controls. | Closing-speed control affects most of the swing; latch-speed control affects the final few degrees. Adjustment direction is hardware-specific. | Turn the control in small increments, typically no more than one-eighth turn at a time, then test the complete cycle. | The door closes smoothly without slamming, stopping prematurely, or failing to latch. |
| 6. Verify hold-open or damping | Hold-open and backcheck functions may be required or prohibited depending on the application. | Fire-rated openings generally require approved self-closing and latching arrangements; hold-open functionality may be restricted. | Confirm the project’s fire, accessibility, and life-safety requirements before enabling or changing hold-open settings. | The final configuration matches the approved door schedule and applicable regulations. |
| E. Final Functional and Load Verification | ||||
| Manual swing test | Check movement from fully closed to the intended opening angle and back. | Test at slow, normal, and repeated operating speeds without forcing the door. | Observe rubbing, noise, drift, inconsistent resistance, and return-to-close behavior. | The door moves freely, remains stable, and returns to the required closed position. |
| Latch and lock test | The latch must engage fully without lifting, pulling, or pushing the door by hand. | Lock alignment must be checked after all height, lateral, and depth adjustments. | Operate the lock repeatedly with the door closed and verify key, cylinder, lever, or access-control operation as applicable. | The latch and lock engage completely on every test cycle. |
| Fastener recheck | Adjustment can relieve or introduce loads at the pivot plates and mounting substrate. | Recheck all accessible fasteners after functional testing and after the first period of operation. | Use the specified torque values and confirm that locking compounds or retaining features are installed where required. | No movement, shifting, cracking, or deformation is visible at the pivots, frame, floor, or head fixing. |
| Maintenance record | A record supports future servicing and helps identify progressive settlement or wear. | Record door mass, hardware rating, adjustment positions, clearances, test date, and observed condition. | Schedule inspection frequency according to traffic level, environment, door use, and the hardware instructions. | The completed record is retained with the door or facility maintenance documentation. |
: Adjust the door height before correcting its lateral position or closing control. Support the door with a mechanical jack. Keep the leaf stable.
Interior doors commonly need about 6–10 mm of under-door clearance. Measure both lower corners. A level-looking door may still have a twisted frame.
Adjust one hinge at a time. Use a feeler gauge or ruler against the frame. Aim for an even reveal along the jamb.
Closing controls cannot properly fix lateral misalignment. Uneven gaps may cause rubbing, latch stress, and heavy closing force. I once made that mistake.
Adjust closing control after the door swings freely. Change sweep speed, latch speed, or backcheck in small increments. One-eighth of a turn is often enough.
Check the complete door assembly, not one hinge alone. A door near 160 kg needs suitable hardware, frame support, pivots, seals, and fasteners.
No. It represents controlled repeated testing, not every installed condition. Poor alignment, uneven floors, temperature changes, and worn seals can shorten service life.
Test at least twenty opening cycles from a fully open position. Listen for rubbing, clicks, or delayed return. Record each screw setting.
Keep hands away from hinge gaps. Support heavy doors securely. Use a second technician for oversized leaves. Heavy doors store energy.
Yes. Recheck the reveal after several weeks and repeated cycles. Floor loading and thermal movement may change the fit. The first adjustment is rarely final.
Adjusting a heavy-duty pivot door begins with identifying the pivot hardware and confirming that its rated capacity matches the door’s actual mass. Before turning any adjustment screws, inspect the fixings, check that the frame is plumb, and verify the clearances against the manufacturer’s stated tolerances. The pivot axis should then be centered, while the door leaf is leveled to prevent uneven loading and unwanted movement.
The correct sequence is to adjust height first, followed by lateral positioning and closing control. Small, balanced adjustments help maintain smooth operation and consistent alignment. As a practical performance reference, EN 1935 classifications can be used to consider durability levels around 200,000 cycles and mass categories up to 160 kg, provided the selected hardware is suitable for the application. In short, “How to adjust heavy duty hinges on a pivot door?” is answered through careful inspection, accurate leveling, staged adjustment, and final testing for stable, controlled movement.

 ScotiaFire Doors